By: Blaine Williams
Windows File History is a built-in Windows tool (introduced in Windows 8) that provides end users with the functionality to restore local files to previously modified versions. This tool can also be used to restore deleted files within the Windows operating system. As a prerequisite to enabling Windows File History, you’ll need an external hard drive or large capacity USB flash drive to connect to your PC. You can then configure File History to automatically back up your desktop, documents, favorites, and more.
To enable File History, connect your USB/external hard drive to your PC, and open PC Settings from the start menu. Once you are in PC settings you should see an option called Update & Security. Select that option.

On the left pane of Update & Security you should see an option that says Backup. Select that option and then click add drive.
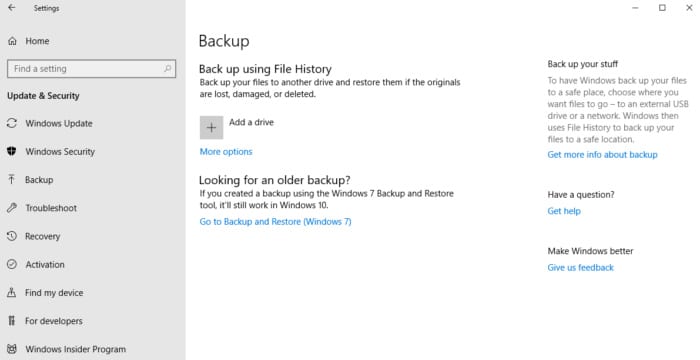
After selecting add drive, you should see your USB/external drive as an available option.

Once you have File History enabled and pointing to your USB/external drive, the final step is to configure the frequency and retention of your backups with the more options button located directly under the add drive button. This will give you the peace of mind that Windows is automatically backing up your important files at the frequency and retention that you set.